
Identify the upholstery and use the vehicle and product instructions to choose the method. Remove loose debris first, test compatibility discreetly and control moisture. A wet-looking surface does not tell you how much liquid has reached the foam beneath it.
Choose by the job
| Decision | Why it matters | What to check |
|---|---|---|
| Material | Fabric, suede-like materials and coated finishes differ | Identify the actual upholstery |
| Loose debris | Can spread during wet cleaning | Use a compatible dry removal method |
| Moisture | Can remain below the surface | Avoid unnecessary saturation |
| Drying | The seat needs time before normal use | Plan ventilation and the next journey |
Confirm the material and the problem
Cloth, suede-like materials and leather-look upholstery need different care. Check the vehicle’s upholstery description and manual. Identify whether you are removing loose soil, a local stain or residue from an earlier cleaning attempt. A single product should not be assumed suitable for every interior surface.
Remove loose soil first
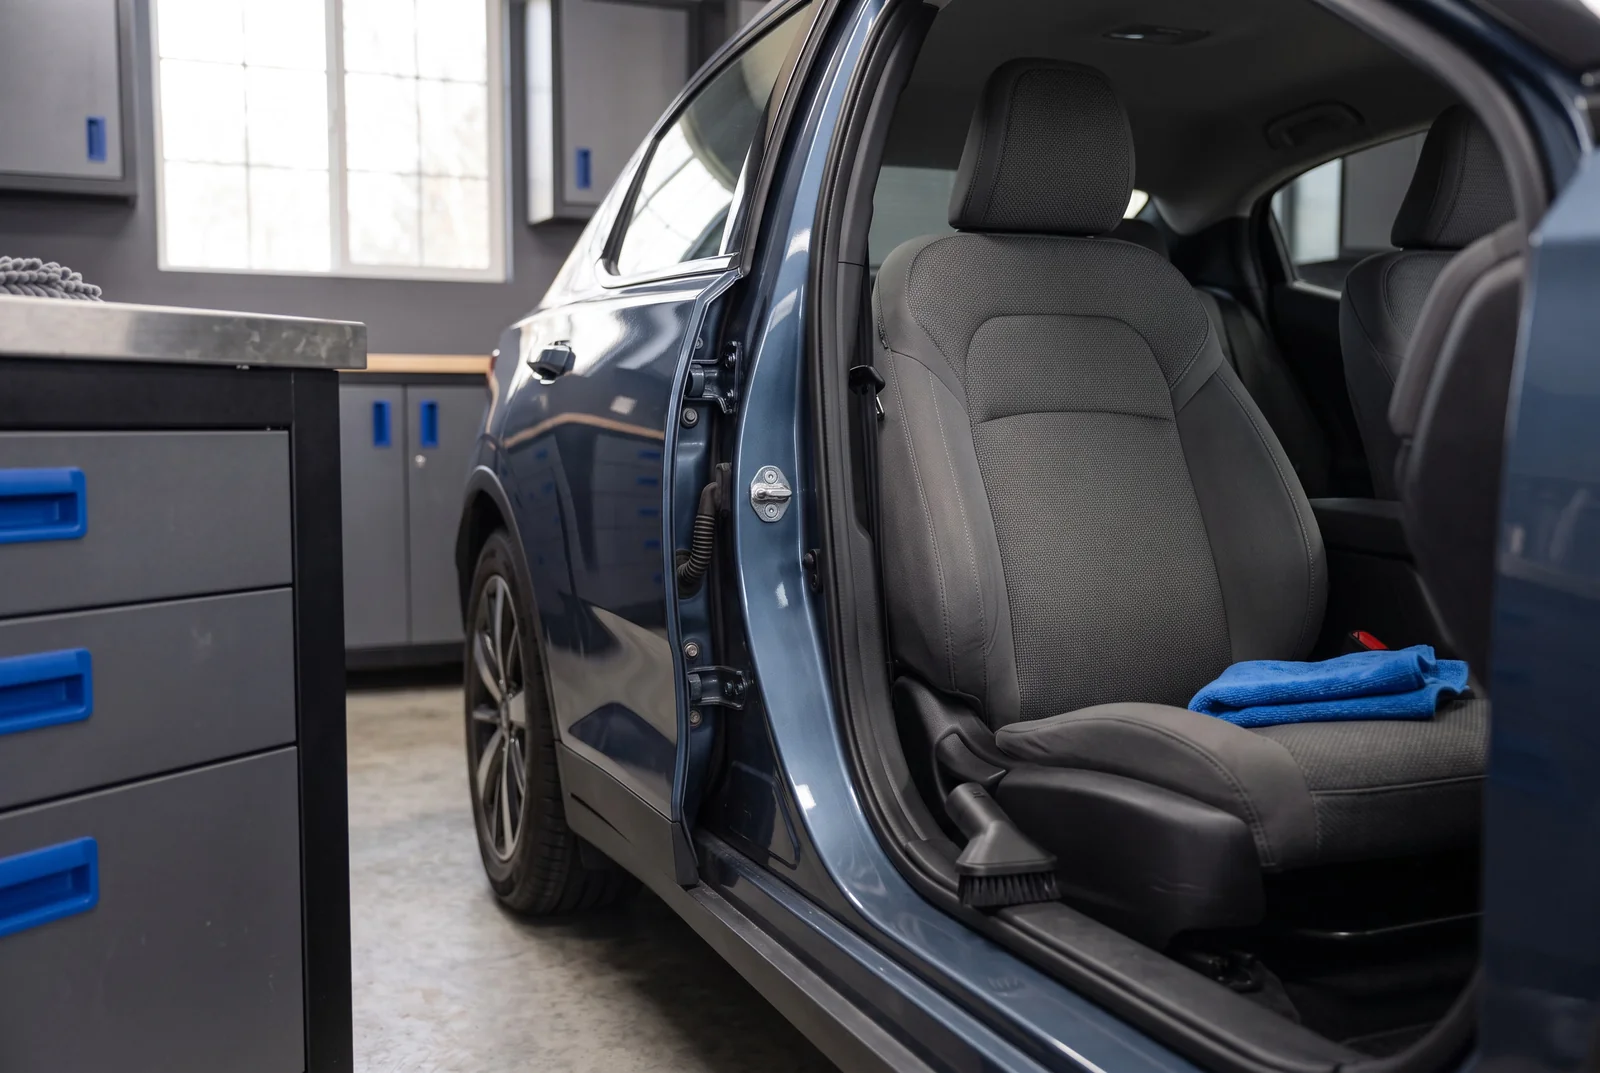
Use an appropriate vacuum attachment to lift removable debris before adding moisture. Pay attention to seams without forcing tools into seat mechanisms or electrical areas. Work on a discreet test patch using a cleaner permitted for that upholstery, then let it dry so you can assess colour and texture.
Use less moisture and more patience
Follow the cleaner’s directions and control where it goes. Avoid saturating cushions, seams and perforations; more liquid can move dirt deeper rather than remove it. If extraction is required, use equipment and a method appropriate to the upholstery and your experience. Persistent stains or odours may need professional assessment.
Finish only when it is dry
Allow thorough drying with suitable ventilation before normal use. Reinspect in good light, because a damp area can hide residue. Avoid repeating progressively stronger treatments on a stain you have not identified. Keep seatbelts, airbags and occupancy systems out of an improvised upholstery-cleaning process.
Make the choice useful
Choose equipment around the surface and the job. A handheld vacuum, upholstery attachment and extraction machine do different things; confirm what each device is allowed to collect. Consider seams, perforations and any seat electronics described in the owner’s manual. Keep cleaning away from a guesswork diagnosis of the stain, and seek the relevant manufacturer or a qualified cleaner when the material or treatment is unknown.
Before the next session
No. Verify the exact upholstery and the vehicle’s care instructions before using heat or steam. The appearance of a fabric surface does not establish that the underlying construction, adhesives, electronics or treatment are compatible.
ILLUSTRATIVE EXAMPLE
A practical example
For a small mark on an otherwise clean seat, begin with identification and a discreet compatibility check rather than soaking the whole cushion. A persistent stain may need a different, documented method. Repeatedly adding liquid because the surface still looks marked can make drying the larger problem.
Your next steps
- Identify the textile: check care instructions
- Remove loose soil: use suitable tools
- Control moisture: leave time to dry
Questions that come up
Can I use one cleaner on every car seat?
No. Identify the upholstery and check the vehicle and product instructions first.
Should I soak a stain to make it easier to remove?
Avoid saturating the seat. Use a controlled, compatible method and allow full drying.
Can I use a steam cleaner on every car seat?
No. Verify the exact upholstery and the vehicle’s care instructions before using heat or steam. The appearance of a fabric surface does not establish that the underlying construction, adhesives, electronics or treatment are compatible.
Sources and further reading
Source references for this edition, September 8, 2026. Recheck changeable rules and the exact product or vehicle instructions before acting.