
The journal
What is a good spray for cleaning car seat belts? Practical guidance and safe options
Practical, safety-first guide on how to clean car seat belts, choose a spray, and follow a step-by-step method without risking webbing or retractor damage.
Why cleaning seat belts matters and basic safety context
When to clean car seat belts
Seat belts are safety hardware that must work reliably. If you are looking for how to clean car seat belts, start by treating the webbing gently and avoid any method that could weaken fibers or affect the retractor.
Visible stains, sticky residue from spilled drinks, or a persistent odor are the most common reasons owners consider cleaning webbing. Dirt and oils from clothing transfer to fabric over time and can make belts look tired or feel greasy. Cleaning can restore appearance and remove smells, but it does not repair structural damage.
Basic safety considerations before you start
Before any cleaning, inspect the webbing along its full length for fraying, cuts, thin spots or melted fibers. Run the belt out fully and look carefully in good light. If you see damage, do not attempt to clean and reuse the belt without consulting a technician; a damaged belt may need replacement.
Check the retractor by letting the belt slide back slowly. It should retract smoothly and lock under a quick tug. Note the buckle and any exposed hardware for corrosion or broken parts. Avoid applying liquids directly to buckles and retractors because excess moisture can reach internal parts and electronic seat modules in some cars.
What is a safe, effective spray to clean seat belts without damaging the webbing or retractor?
Start with a mild soap solution or a dedicated foam upholstery cleaner applied to a cloth. Use enzyme cleaners for biological odors and reserve solvent-based spot products only for persistent grease, applied sparingly and with a patch test. Always protect the retractor and avoid overwetting.
Keep cleaning local to the webbing surface and avoid overwetting near the retractor. Use soft tools and mild cleaners where possible. If you have electronic seat controls or sensors nearby, protect them from sprays and drips.
Which sprays and cleaners are suitable, a simple decision framework
Categories of cleaning sprays
Choose from these broad categories of cleaners when you need to remove a stain or odor from webbing: mild soap solutions made from dish soap or gentle laundry detergent; commercial upholstery or fabric cleaners formulated for car interiors; enzyme cleaners for organic stains and odors; and solvent-based cleaners for heavy grease or oil. Solvent-based products can be effective on oily stains but carry higher risk to the fibers and any nearby plastics, so use them only as a last resort and with caution.
Foam cleaners can help reduce how much liquid reaches the retractor because the active solution sits in the foam rather than saturating the webbing. Sprays that produce a light mist are useful when you apply cleaner to a cloth first rather than directly onto the belt.

How to decide fabric type, stain type, electronics nearby
Match the cleaner type to what you are trying to remove. For fresh coffee or soda, a mild soap solution or a gentle upholstery spray usually works. For grease or oil, a solvent-based spot product may lift the stain, but it is riskier for the fabric and surrounding plastic. For mildew or persistent odors, an enzyme cleaner that targets organic molecules can be more effective than soap alone.
When electronics or powered seats are near the belt anchor or retractor, favor low-liquid options such as foam cleaners or applying spray to a cloth. Keep sprays away from sensors and wiring and avoid letting any cleaner drip down into the retractor cavity.
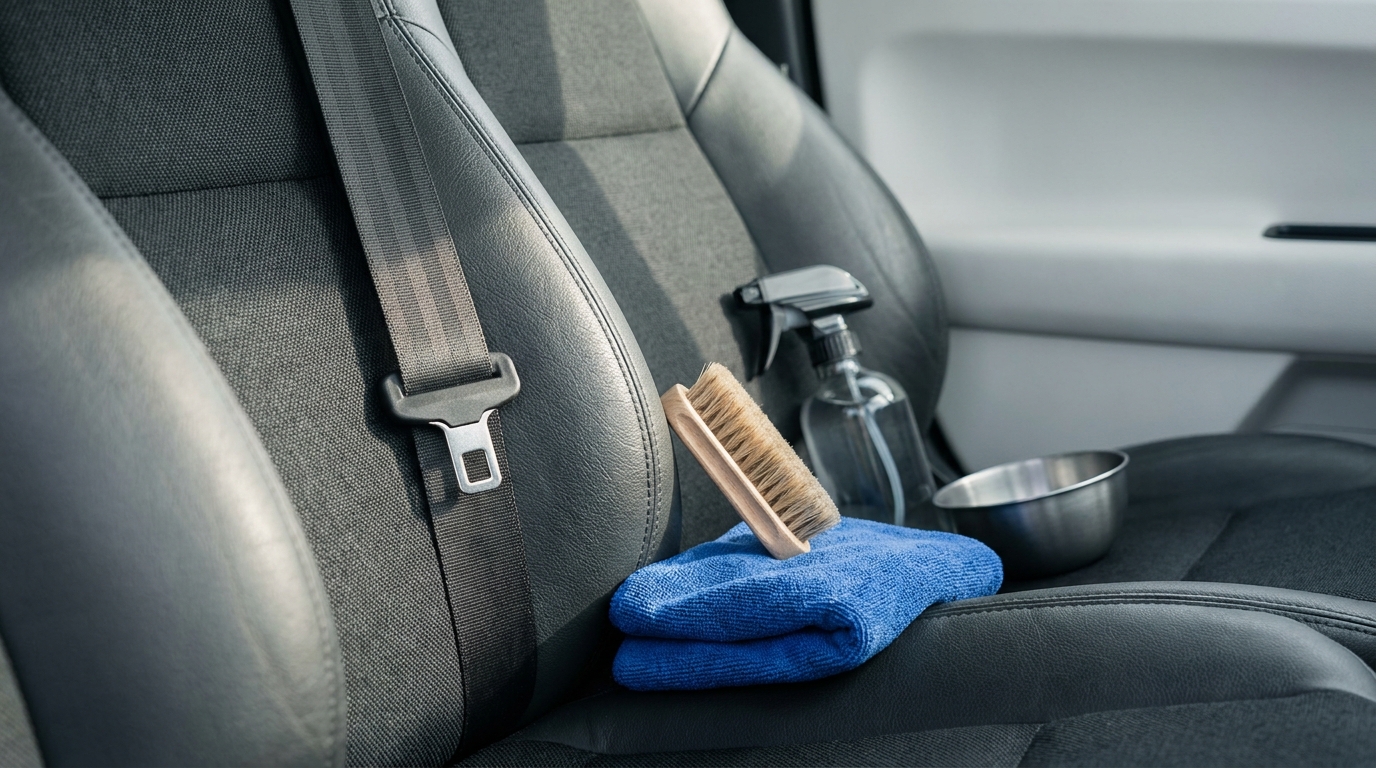
small set of handheld items to help clean seat belt webbing safely
Step-by-step: how to clean seat belts safely with a spray
Preparation and testing
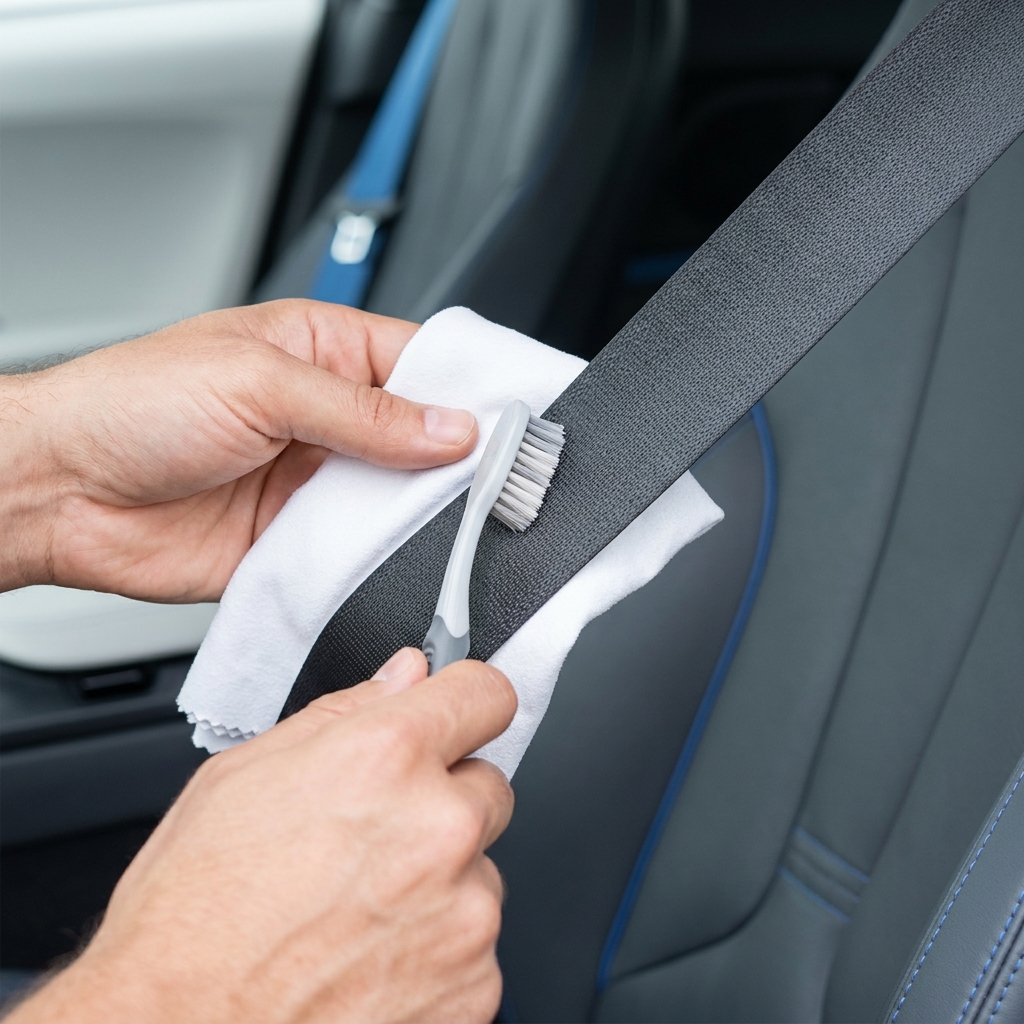
Gather materials before you begin: a clean microfiber cloth or two, a soft brush such as a soft toothbrush, a spray bottle with a mild soap solution or a dedicated fabric cleaner, and a towel to protect seats and flooring. Keep a bowl of clean water for rinsing cloths if needed.
Fully extend the belt from the retractor so you can inspect the whole length and treat all stained areas. If the belt is heavily soiled, plan to work in sections and do not try to wet the entire length at once. Always test the cleaner on a hidden area first, for example at the underside of the belt near the anchor, to check for colorfastness and any adverse effect on the weave.
Protect the retractor area by placing a towel over the anchor and shielding any exposed electronics. You can also wedge a piece of cardboard or a small plastic sheet between the belt and the seat to prevent drips from reaching seat controls.
Apply the cleaner sparingly. For most mild solutions and many commercial upholstery sprays, the safest approach is to spray the product onto the cloth rather than directly onto the webbing. This gives you control and reduces the chance of saturating the belt or adjacent hardware.
Cleaning technique and drying
Work from the outer edge of the stain toward the center to avoid spreading soil. Use gentle, even strokes along the direction of the weave to clean, not across it. For light stains, a damp microfiber cloth and mild soap solution combined with a soft brushing motion is often enough. For sticky spills, let the cleaner dwell briefly on the cloth applied to the stain, then rub gently.
For stubborn grease spots, use a small amount of a stronger spot cleaner applied to the cloth and brush carefully. After treating a spot, blot with a fresh damp cloth to remove residue and then pat dry with a towel. Repeat spot cleaning only if needed; aggressive repeated scrubbing can raise fuzz or thin fibers.
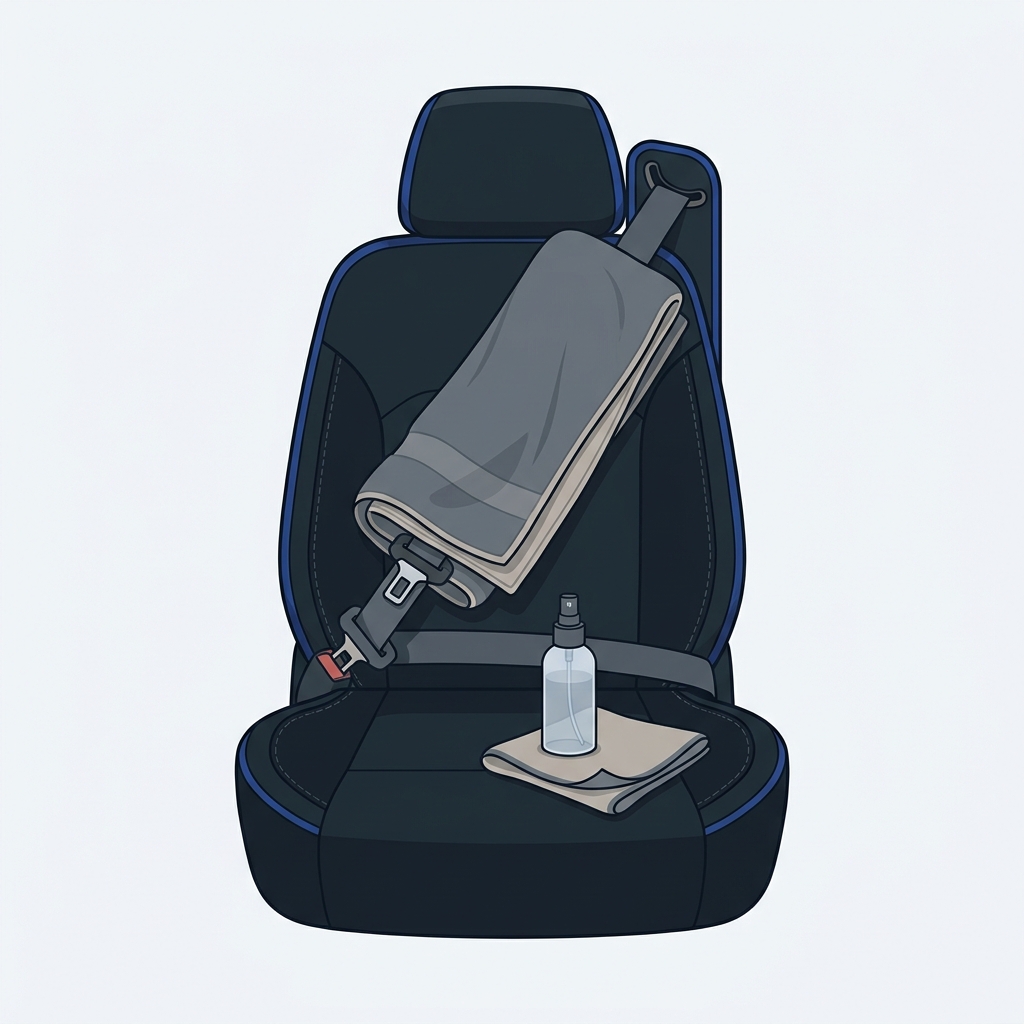
Drying is critical. Allow the belt to air dry fully while extended, out of direct sunlight and without heat from a heater or hair dryer. Do not let the belt retract until it is completely dry. After drying, retract the belt slowly and test both retraction and the locking function before driving.
How to choose the right spray or product for your situation
Reading labels and ingredient clues
When selecting a commercial spray, read the ingredient list and product claims carefully. Prefer products that emphasize safe use on fabrics, upholstery or automotive interiors and avoid those that list strong solvents, concentrated alcohols, or bleach in the first lines. Warnings about color change or fabric damage are a reason to patch-test or choose a milder product. For additional manufacturer guidance see how to clean seat belts without damage.
Look for cleaners that indicate suitability for synthetic webbing or polyester blends, because many seat belts are made from such materials. If a product explicitly says it is for leather only, do not use it on fabric webbing.
When to choose a commercial spray versus a DIY mild solution
A DIY mix of a few drops of mild dish soap in a spray bottle of water is a reliable first choice for general cleaning. It is inexpensive and easy to rinse from a cloth. Commercial upholstery sprays and fabric cleaners can save time on tougher stains, but they are more concentrated and can be harder to rinse out fully, so plan a careful patch test and use sparingly.
Enzyme cleaners are worth considering for biological odors and mildew, while solvent-based spot products are a last-resort option for greasy stains that do not respond to soap. Always follow label precautions if you use a commercial product and keep a cloth between the spray nozzle and the webbing when possible.
Common mistakes, problems and simple troubleshooting
What can go wrong
Common errors include overwetting the belt and letting liquid reach the retractor, using bleach or strong solvents that weaken fibers, and scrubbing hard across the weave which can fuzz or thin the webbing. Any of these can reduce the belt strength or cause visible wear.
Using the wrong product near buckles and electrical connectors can lead to sticky or corroded hardware. If a product is not compatible with plastics or coatings, it may cause discoloration or surface degradation of nearby trim pieces.
Fixes and when to stop and seek professional help
If retraction becomes sluggish after cleaning, gently let the belt run out and back in a few times to help air dry and free the mechanism. If retraction or locking fails, stop using the belt and have a qualified technician inspect the mechanism. Continuing to use a compromised belt risks safety.
If a smell persists after cleaning and drying, consider repeating the cleaning with an enzyme-based approach or consult a professional detailer who can assess whether the odor source is inside the retractor, anchor area or surrounding upholstery. Stop cleaning and seek inspection if you notice fraying, thin spots, or any structural damage to the webbing.
Practical examples, maintenance tips and a concise checklist
Quick scenarios and recommended approaches
Coffee spill: Blot fresh spill with a dry cloth, then use a mild soap solution applied to a microfiber cloth. Work along the weave and blot dry. Avoid scrubbing across the fibers. (see our guide to clean fabric car seats)
Grease from clothing: Start with a mild solvent-free spot cleaner on a cloth, then blot and use a clean damp cloth to remove residue. If grease persists, use a small amount of a stronger spot product sparingly and test first on a hidden area.
Mildew smell: Treat with an enzyme cleaner following label instructions, applied carefully to the stained area, then allow thorough air drying with the belt extended. If odor continues, check for water intrusion near anchors or inside trim panels.
Weekly or quarterly maintenance tips
Weekly: Wipe exposed webbing with a dry microfiber cloth to remove surface dust and oils from skin and clothing. Keep seat belt buckles free of crumbs and sticky residue.
Quarterly: Inspect the full length of webbing, anchors and buckles for damage or corrosion. For light soil, use a damp cloth with mild soap on visible spots and let the belt dry fully extended.
Printable checklist
Preparation: Inspect webbing, gather microfiber cloths, soft brush, mild cleaner, and towels. Protect the retractor and nearby electronics. Patch-test cleaner.
Cleaning: Apply cleaner to cloth, clean along the weave, blot and rinse cloth as needed, avoid overwetting. Repeat only if necessary.
Drying and test: Air dry while extended, do not use heat, only allow retraction once fully dry, test lock and retraction. Stop and seek inspection if you see structural damage to the webbing.
Frequently asked questions
Can I spray cleaner directly on the seat belt?
It is safer to spray cleaner on a cloth and then wipe the belt to avoid saturating the webbing or letting liquid reach the retractor.
Will cleaning reduce the strength of my seat belt?
Gentle cleaning with mild soap and limited moisture should not reduce belt strength, but stop and have a technician inspect the belt if you see fraying or structural damage.
How long should seat belts dry before use?
Allow complete air drying while the belt is extended. Only retract and use the belt once it is fully dry and retraction and locking are confirmed.
Cleaning seat belts is a balance between restoring appearance and preserving safety. Use the mildest effective cleaner, protect mechanical parts, and stop if you see structural damage. When in doubt, consult a qualified technician to inspect a belt that shows signs of fraying, failed retraction, or other mechanical issues.
References
- https://www.wikihow.com/Clean-a-Seat-Belt
- https://drivenandkept.com/surface-atlas/interior-plastic
- https://www.chemicalguys.com/blogs/interior-how-tos/how-to-clean-seat-belts?srsltid=AU7gw4W4jFDFpYyoX_Z3r_f9GXmK_KsAU2zNaYlo6fs9r8LXVFwryCXg
- https://drivenandkept.com/surface-atlas/fabric
- https://www.prowax.com/products/c-28-seat-belt-cleaner?srsltid=AU7gw4UxtDSKzJaiusysyDKGLDQmt6BEQ8GItSBMas8tKViS6xvdJsXU
- https://drivenandkept.com/interior-care/clean-fabric-car-seats