
The journal
How to clean the inside top of your car safely
A clear, low-moisture method to clean your car's headliner without damaging the fabric or adhesive. Tools, steps, what to avoid, and when to stop.
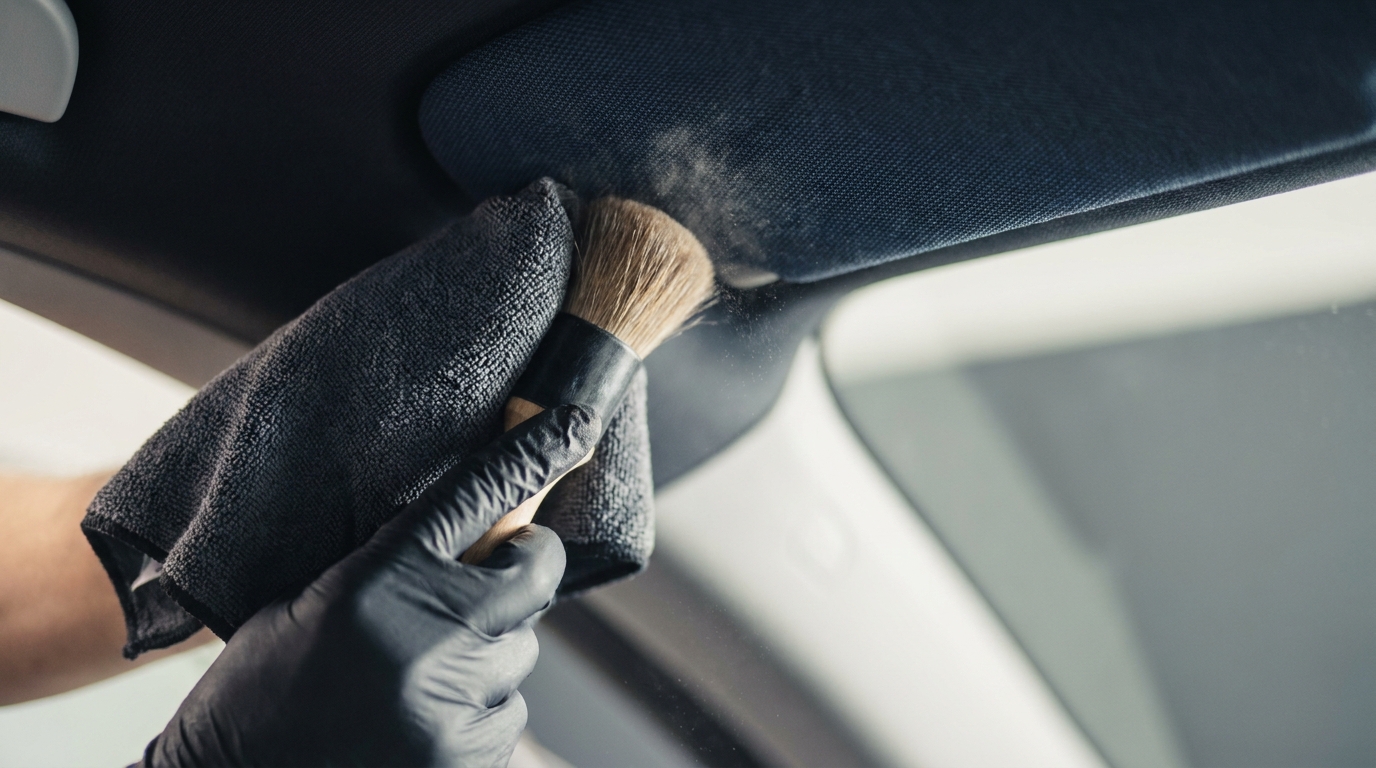
Quick answer: Clean the inside top of your car (the headliner) with a low-moisture approach. Apply a mild upholstery cleaner to a cloth or soft brush, not directly to the ceiling, work small sections with light strokes, blot dry, and fully ventilate. Always test a hidden spot first and stop if the fabric changes or the lining loosens (Headliner cleaning guide).
Before you start: know your headliner
Most headliners are fabric bonded to a thin foam over a rigid backing. Excess water, heat, or aggressive scrubbing can weaken the adhesive, cause sagging, or leave rings. Avoid removing trim or touching roof electronics; many vehicles have microphones, lights, wiring, and curtain airbags near the roof. Check your owner manual for any model-specific limits (Headliner cleaning guide).
What you need
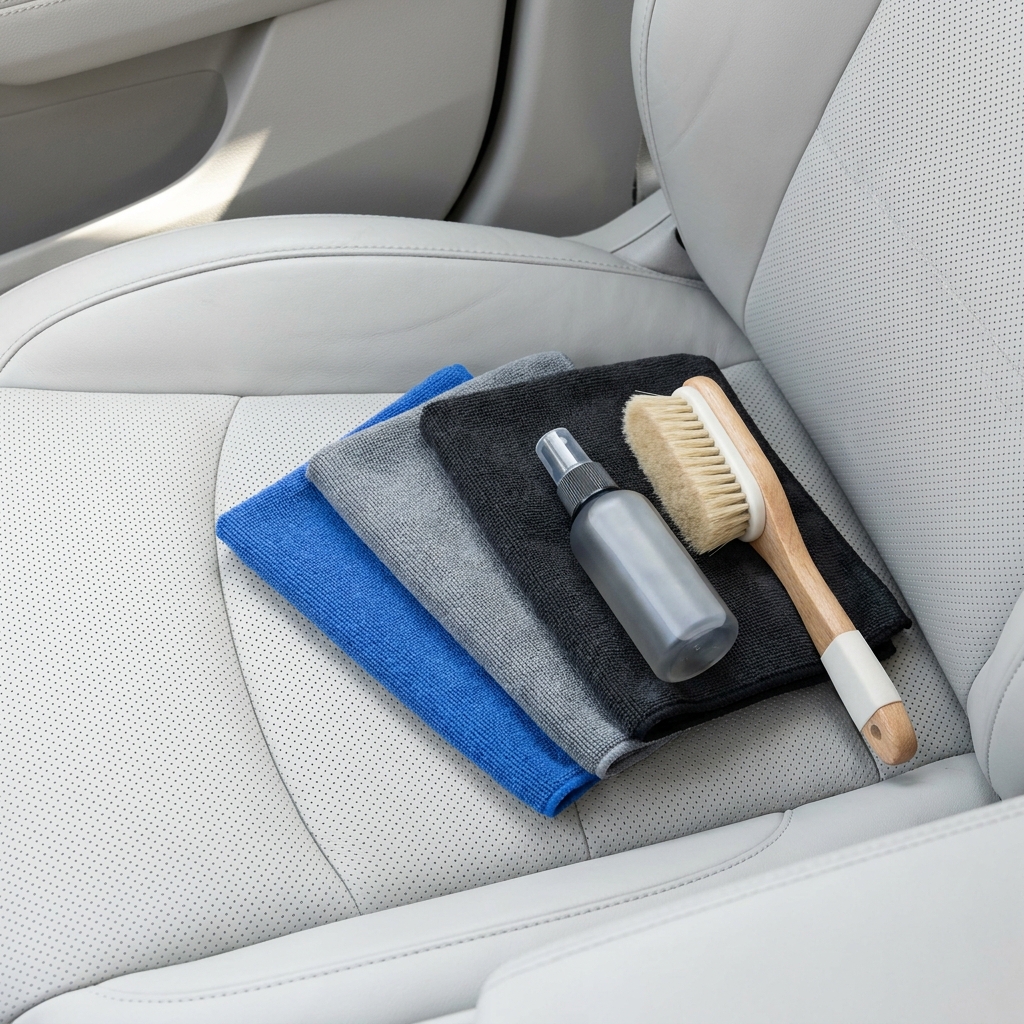
- Vacuum with a soft brush attachment
- 2-3 clean microfiber towels
- Soft upholstery brush or soft-bristle detailing brush
- Mild upholstery cleaner labeled safe for automotive or delicate fabrics
- Plastic or paper to cover seats/console; optional nitrile gloves
- Good airflow (windows/doors open; a fan helps)
Choose a fabric-safe cleaner; avoid strong degreasers, bleach, ammonia, solvent-heavy products, or anything that leaves a heavy residue (Headliner cleaning guide).
Step-by-step: gentle, low-moisture cleaning
1) Prep and test
- Park in shade with good ventilation and protect interior surfaces.
- Vacuum the headliner lightly with a soft brush to remove dust. Avoid pressing hard or circular scrubbing (Headliner cleaning guide).
- Test your cleaner on a hidden area and let it fully dry. Do not proceed if you see color change, water marks, fuzzing, stiffness, odor, or signs of adhesive failure (Headliner cleaning guide).
2) Apply cleaner to the tool, not the ceiling
- Lightly dampen a microfiber towel or soft brush with cleaner. It should not drip.
- Avoid spraying the headliner directly to protect dome lights, switches, microphones, wiring, and trim (Headliner cleaning guide).
3) Clean small sections and blot
- Work areas about 6-12 inches wide. Use light, straight strokes; do not grind the brush into the fabric.
- Immediately blot with a dry microfiber to lift soil and moisture. Lift and rotate the towel; don’t rub back and forth.
- If the fabric feels wet after several seconds, you used too much liquid. Stop and let it dry before continuing (Headliner cleaning guide).
4) Dry fully
- Keep windows/doors open. A fan speeds airflow. Do not use hair dryers, heat guns, or high heat, which can soften adhesives and deform foam.
- Allow the surface to dry completely before closing up (Headliner cleaning guide).
Stain-specific tweaks
- Light dust or surface dirt: vacuum, then a lightly damp microfiber and blot.
- Drinks (coffee/soda): mild upholstery cleaner, blot from the outside of the stain inward to avoid spreading; sugars can leave residue.
- Grease or skin oils: minimal cleaner on a towel; switch to a clean section each pass to avoid smearing.
- Water rings: lightly blend across the surrounding panel rather than spot-treating just the ring.
- Smoke residue: expect several gentle passes; odor may persist in deeper materials.
- Ink or dye transfer: professional cleaning is often safer due to discoloration and adhesive risks.
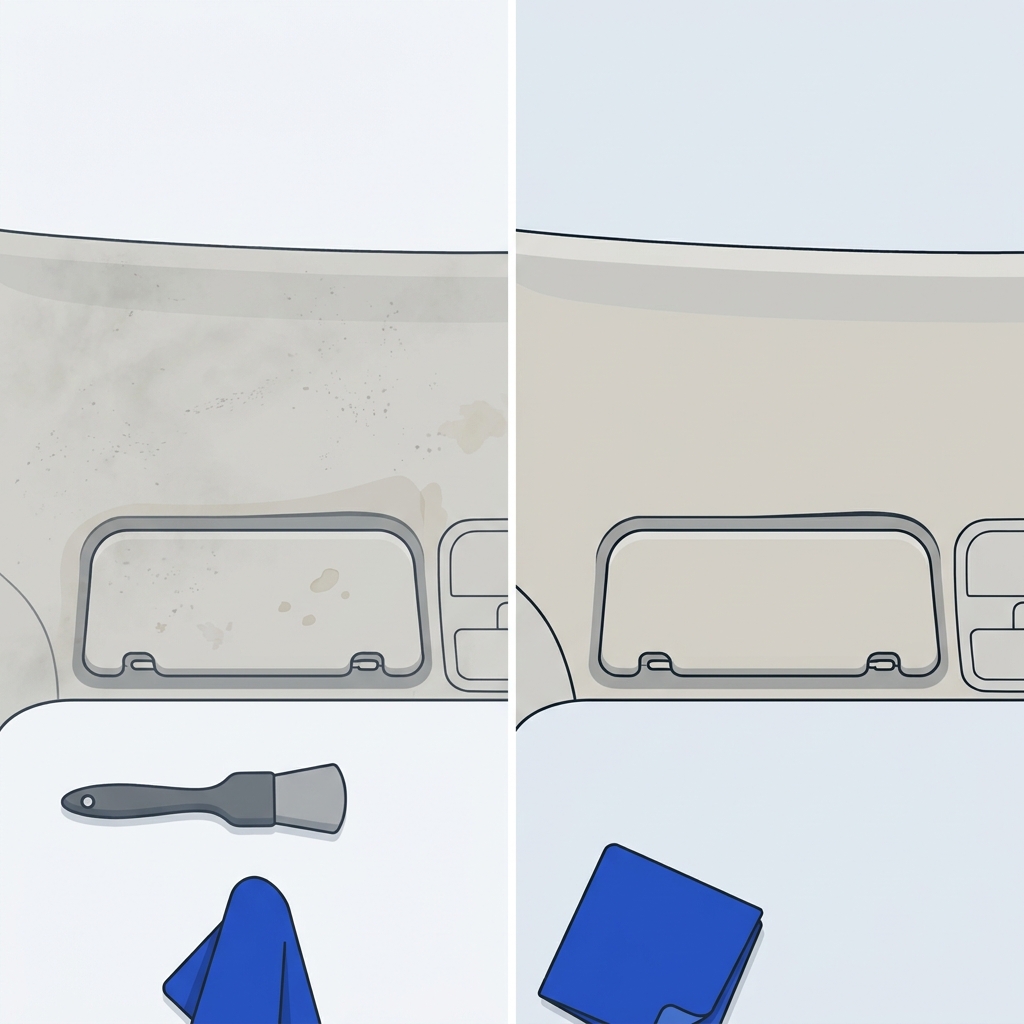
If a mark does not improve after two light passes, stop. Set-in stains, chemical reactions, or issues in the foam/adhesive usually need professional assessment (Headliner cleaning guide).
What to avoid
- Directly spraying the ceiling or soaking the fabric
- Hard scrubbing or drill brushes that flatten or fuzz the nap
- Steam cleaners or carpet extractors unless the manufacturer explicitly permits them
- Household carpet shampoos, strong solvents, bleach, or ammonia
- High heat to speed-dry, or closing the vehicle while damp
Each of these increases the risk of weakening adhesive, creating rings, damaging electronics, or causing sagging (Headliner cleaning guide).
When to stop and call a pro
- Sagging, bubbling, or obvious separation
- Musty smell, mold-like growth, or repeated water marks (find and fix the leak first)
- Large, stubborn stains that don’t improve after two gentle passes
- Delicate suede-like or specialty materials
- Anything that would require trim removal near curtain airbags or roof electronics
A reputable detailer or headliner repair shop can advise whether cleaning in place is safe or if reattachment/replacement is needed (Headliner cleaning guide).
Keep it cleaner for longer
- Vacuum the headliner lightly during routine interior cleaning.
- Keep drinks sealed and avoid touching the ceiling with oily hands.
- Fix roof, windshield, and sunroof leaks promptly.
- Ventilate the cabin and consider sunshades to reduce interior heat buildup.
These simple habits reduce the need for wet cleaning and help protect the adhesive bond (Headliner cleaning guide).
Headliner cleaning checklist
Related reading on Driven & Kept
Short FAQ
Can I use steam on a headliner?
Generally avoid it. Steam can loosen adhesive and drive moisture into the foam unless your vehicle or equipment maker explicitly allows it (Headliner cleaning guide).
Why do headliners sag after cleaning?
Usually excess moisture, heat, age, or already-weak adhesive. Cleaning will not restore a failed bond; seek repair or replacement (Headliner cleaning guide).

Clean lightly, keep moisture controlled, and stop early if the fabric or adhesive shows stress. That conservative approach protects both appearance and structure.